Notifications
This page is part of MariaDB's Documentation.
The parent of this page is: Working with SkySQL
Topics on this page:
Overview
Actions performed through the Portal will generate a notification.
One notification is generated when an action is initiated.
Additional notifications are generated to convey status as the action is carried out by the system.
Access to Notifications
To access current notifications:
Log in to the Portal.
Click the bell icon in the upper-right corner of the interface.
A menu of recent notifications will be displayed.
The bell icon will include a red dot indicator when a new notification is present. This indicator can be cleared by clicking the "Clear all" link.
To view historical notifications, click the "View more" link at the bottom of the menu. When viewing historical notifications, notifications can be filtered by category and time frame.
Notification Categories
User Preferences
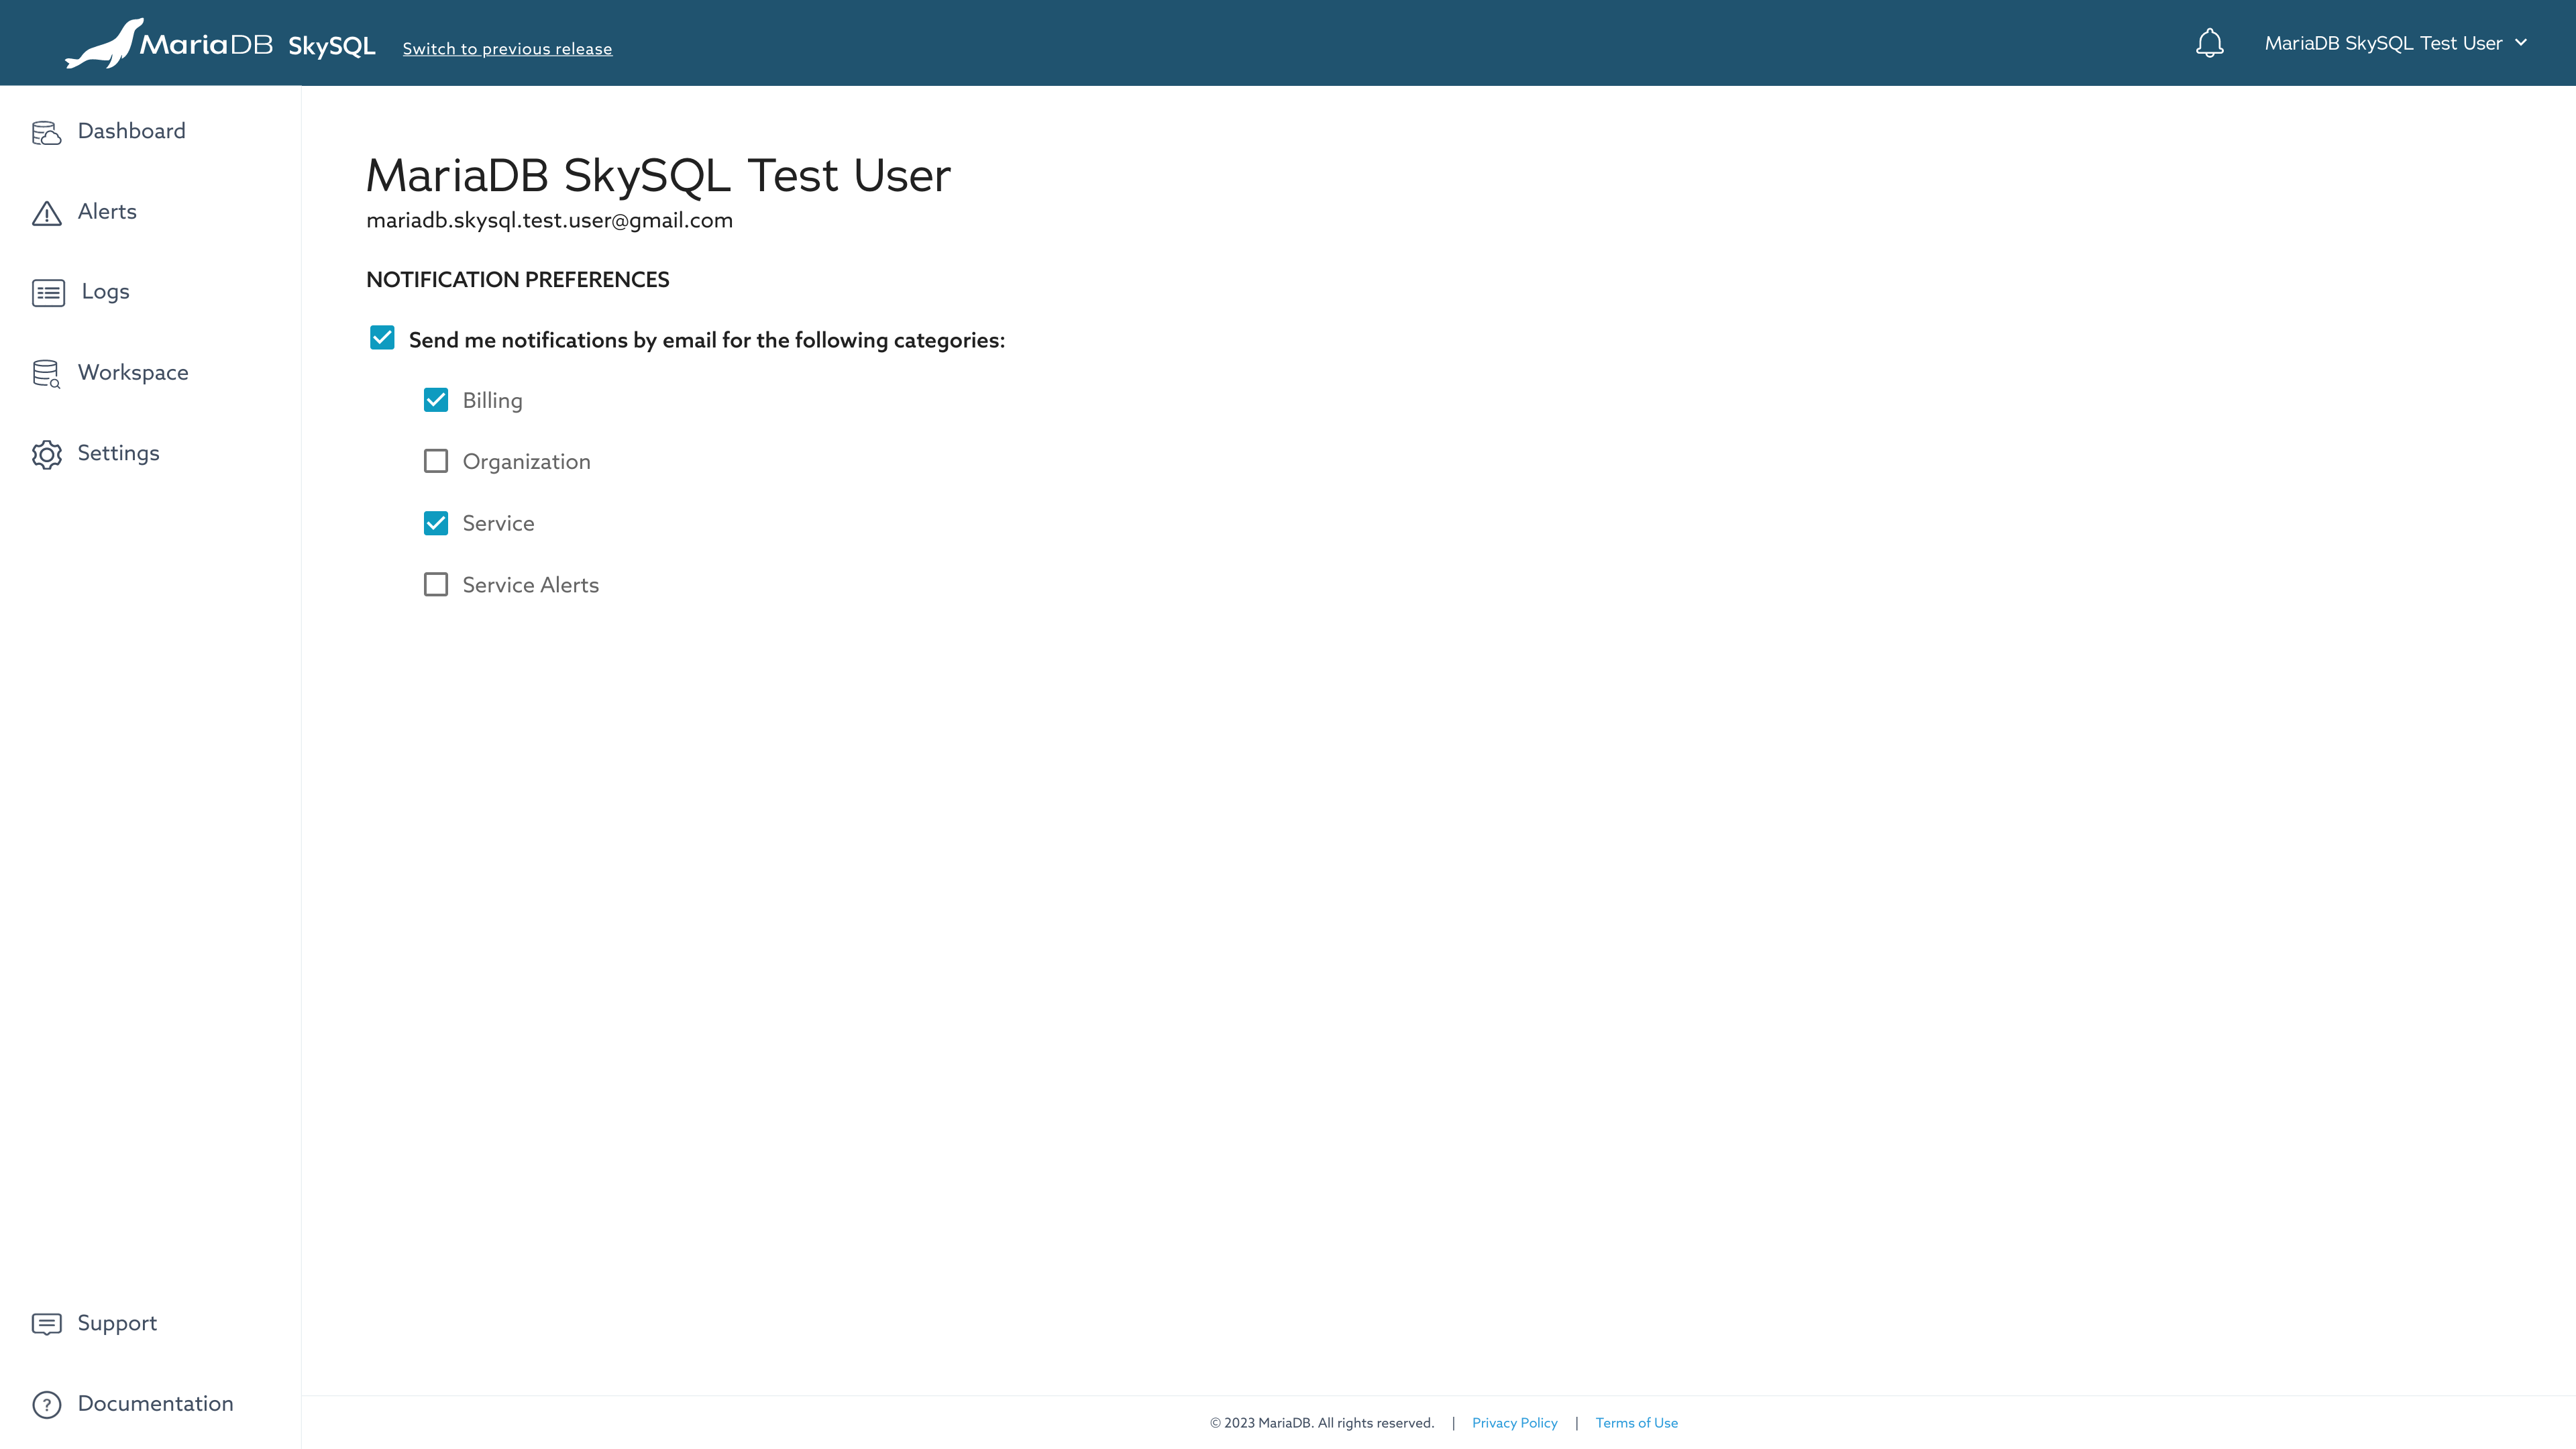
You can configure the notifications delivered to your email address from User Preferences.
To access User Preferences:
Log in to the Portal.
Click your name in the upper-right corner of the interface.
Choose "User preferences".
From User Preferences you can specify your notification preferences:
Whether to send notifications to you by email
Which Notification Categories you want to be sent
Notification Channels
In addition to display in the Portal, notifications can also be delivered by email.
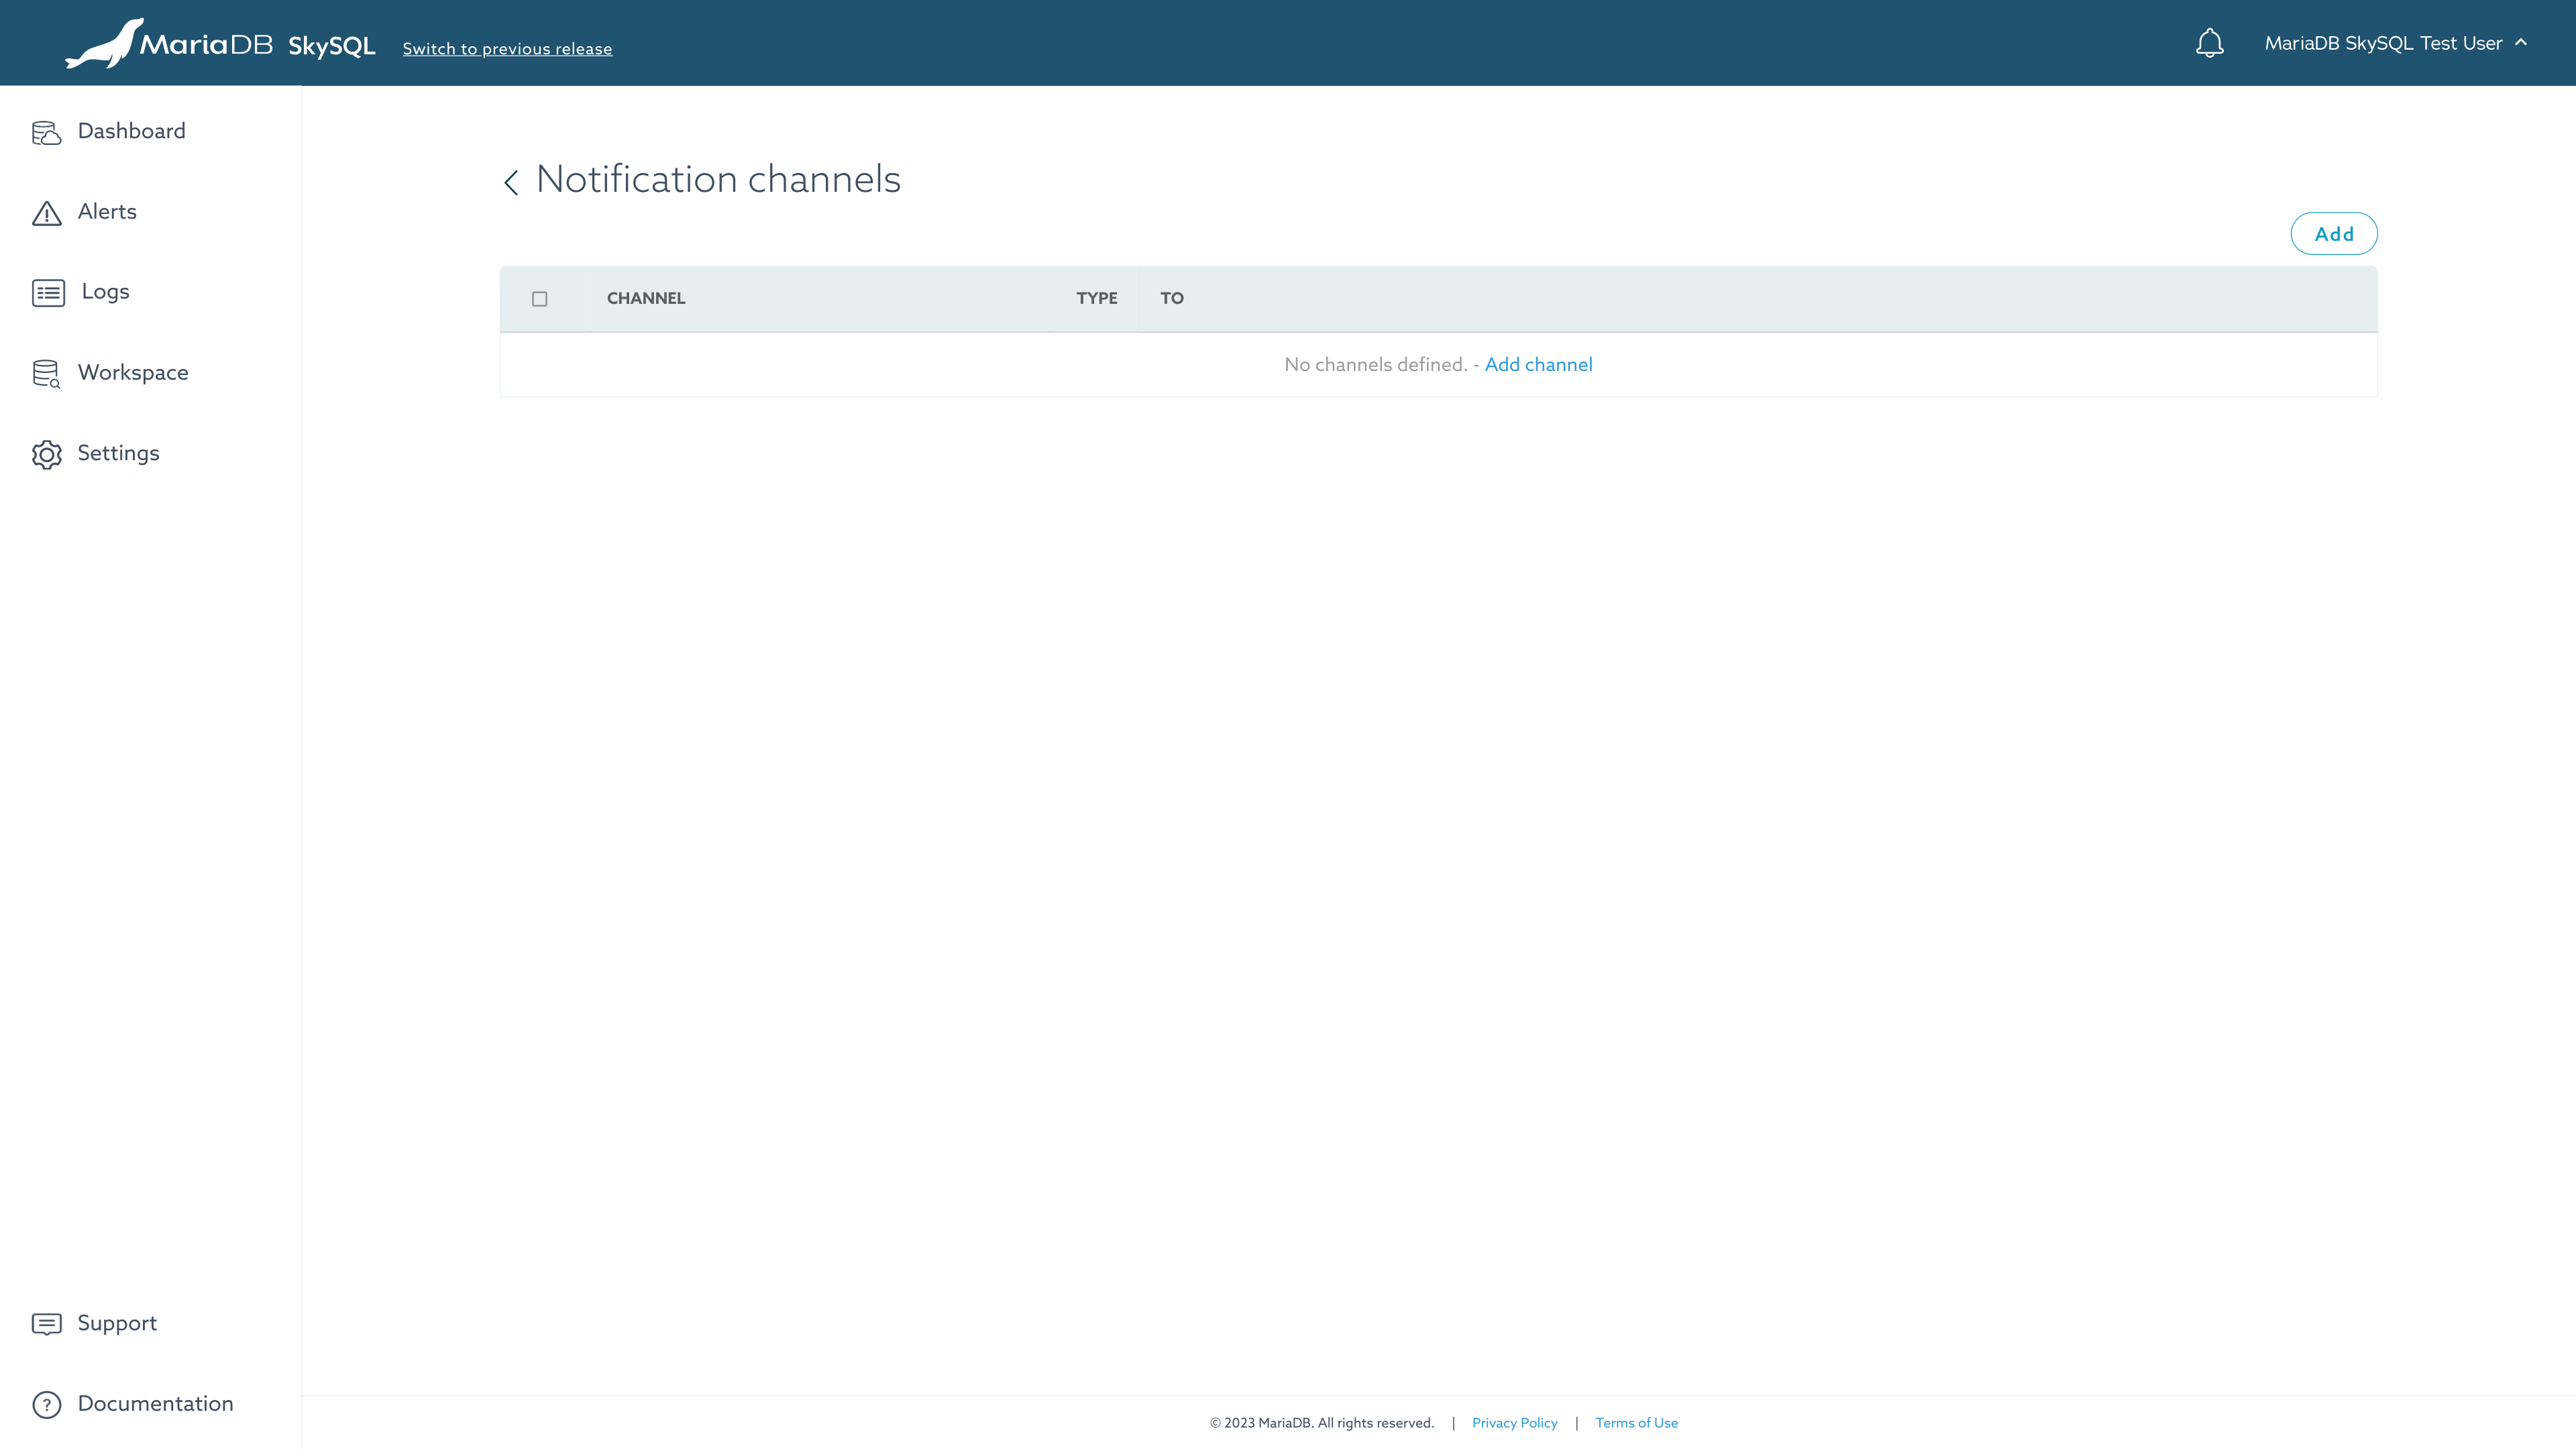
Notification Channels define who receives what type of notifications.
To access Notification Channel settings:
Log in to the Portal.
Click the "Settings" link in the main menu (left navigation in the Portal).
Click the "Notification Channel" button.
Add a Notification Channel
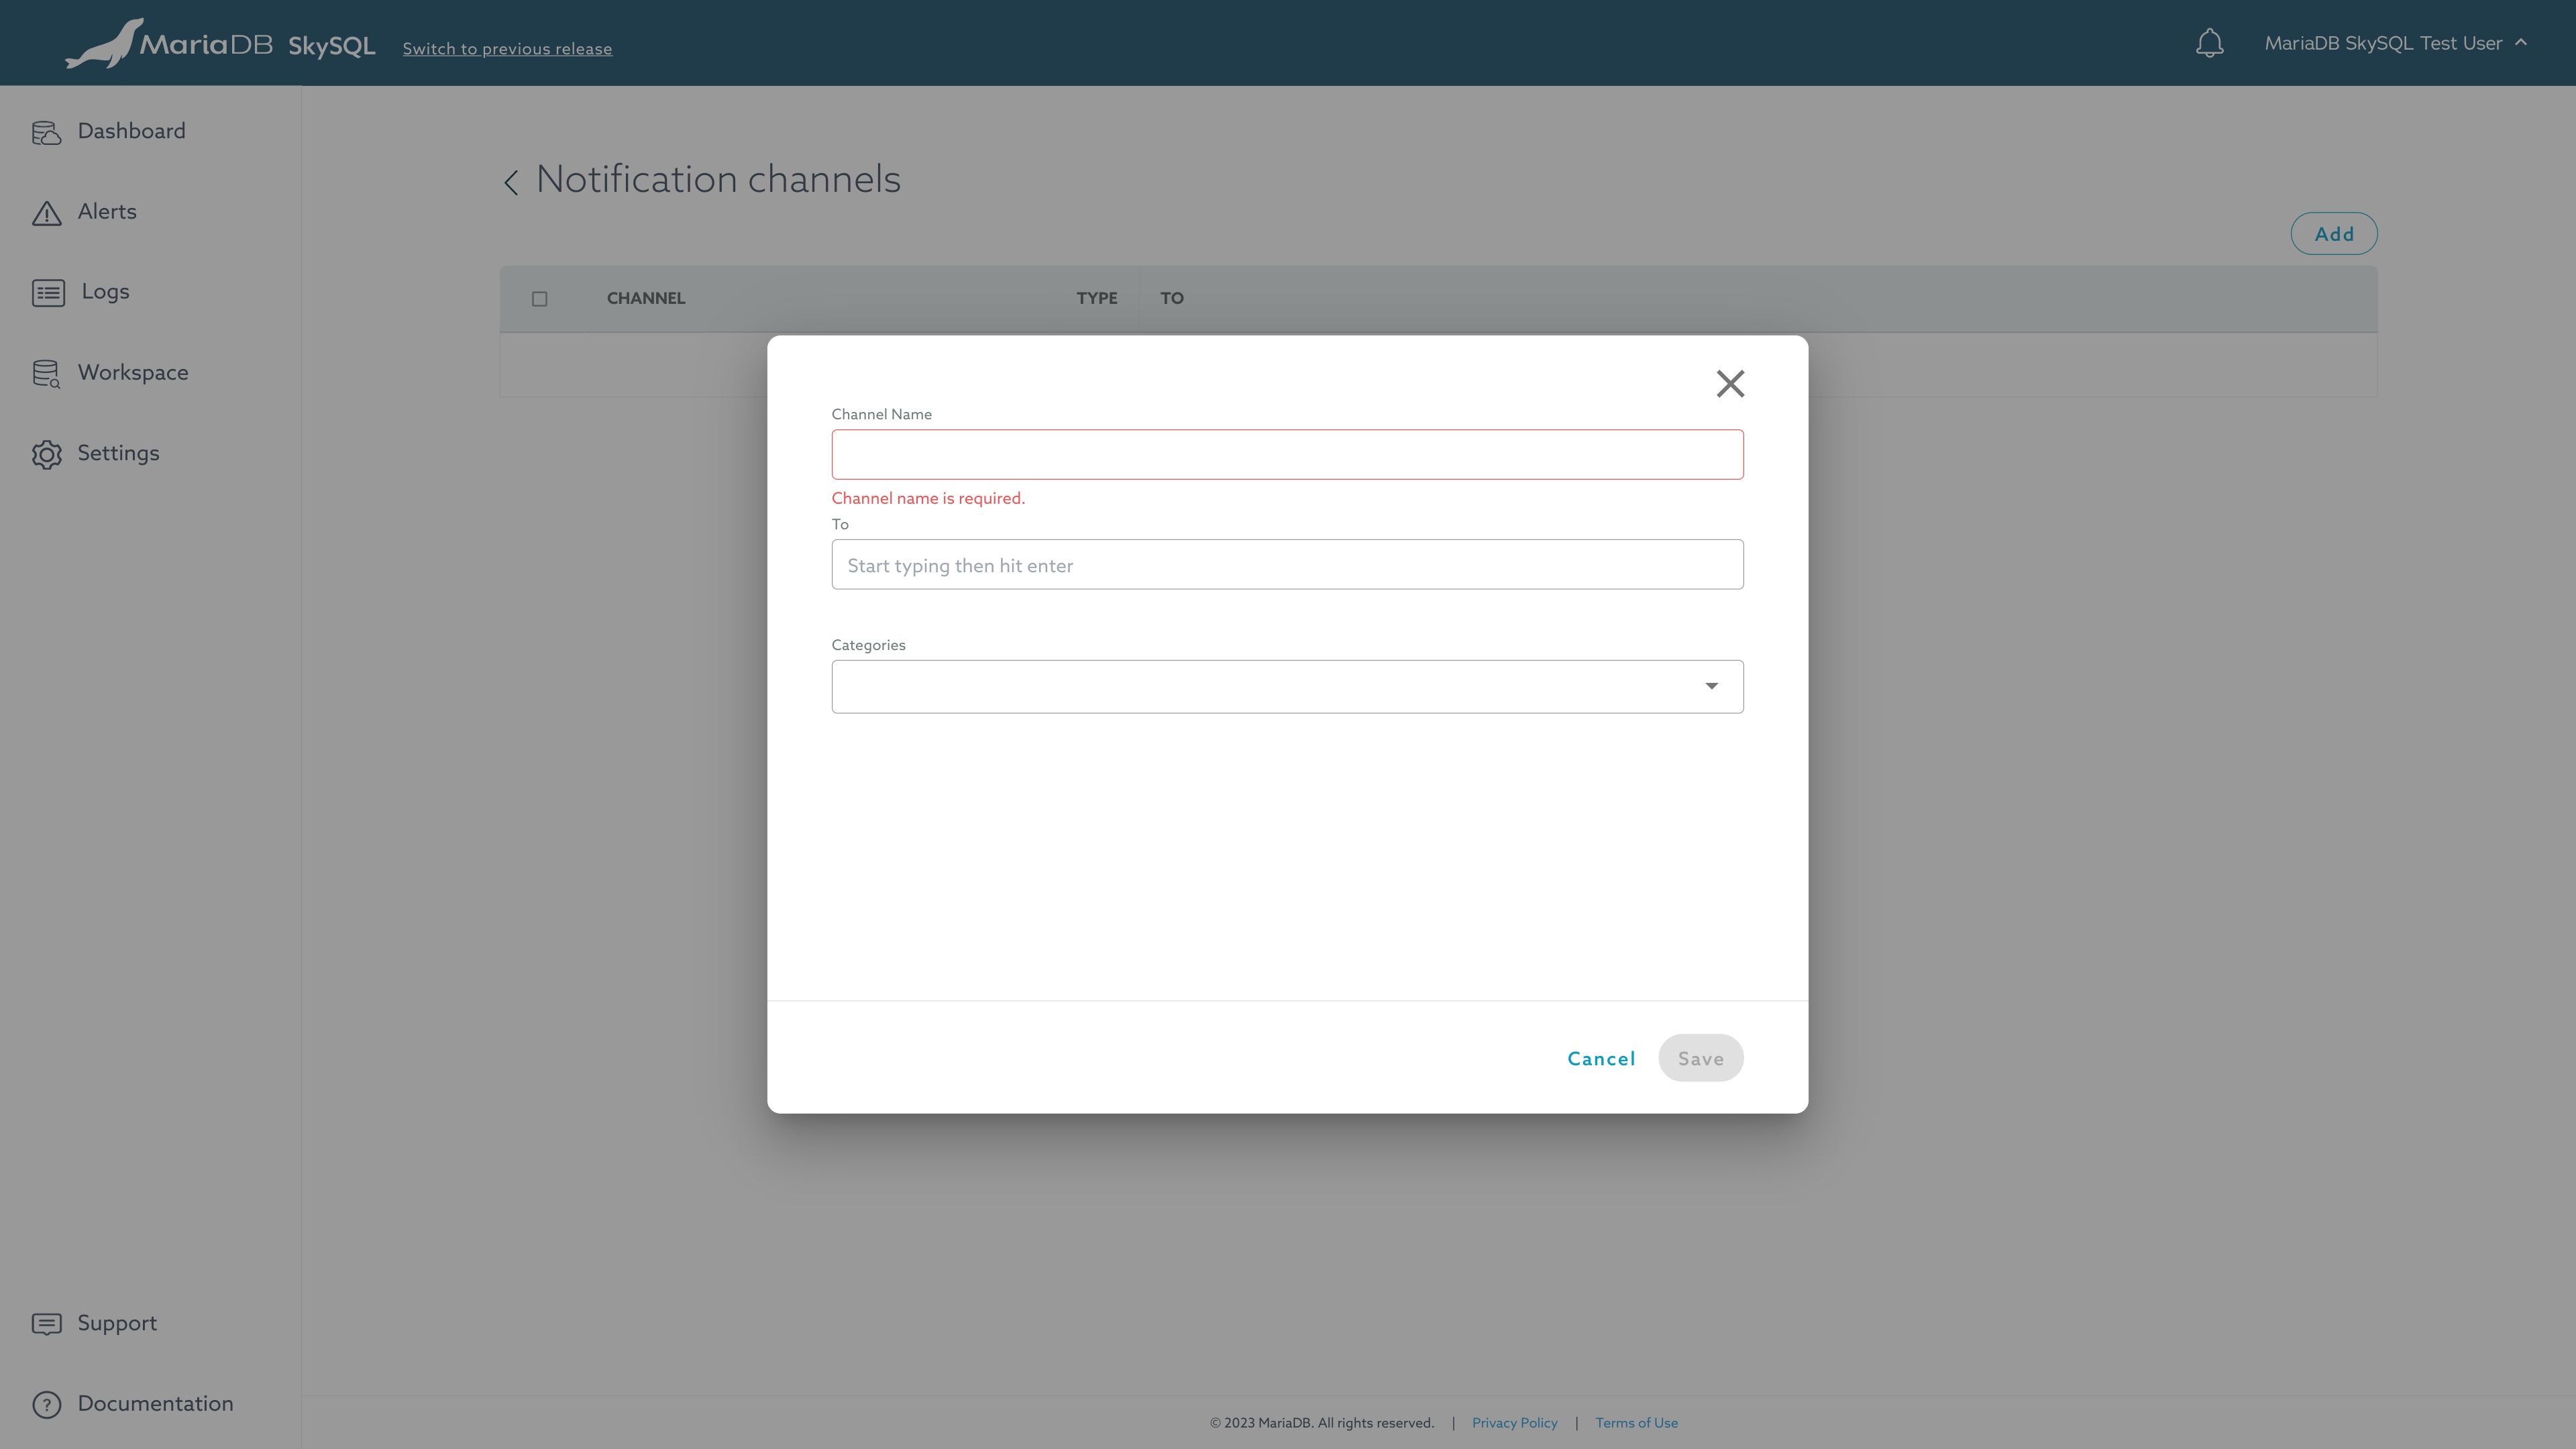
To add a Notification Channel, from the Notification Channel settings interface:
Click the "Add" button in the upper-right corner.
Enter a channel name.
Enter the email address that will receive notifications.
Choose the notification categories that should be sent to that address.
Remove a Notification Channel
To remove a Notification Channel, from the Notification Channel settings interface:
Check the checkbox to the left of the notification channel to be removed.
Click the "Delete" button (which appears when a notification channel is selected by checkbox).
Confirm removal of the notification channel by clicking the "Yes, delete" button.
Edit a Notification Channel
To modify a Notification Channel, from the Notification Channel settings interface:
Click the name of the channel to modify.
Make the desired changes to the channel name, email address recipient list, and notification categories.
Click the "Save" button.


